This guide will help you understand how to assign check-in forms to individual clients and manage their submissions.
Navigating to the Client's Profile
Start by going to the profile page of the client you want to assign a check-in form to. At the top of the page, you'll find several tabs. Click on the Check-Ins tab to access the client's check-in management area.
Understanding the Check-Ins Section
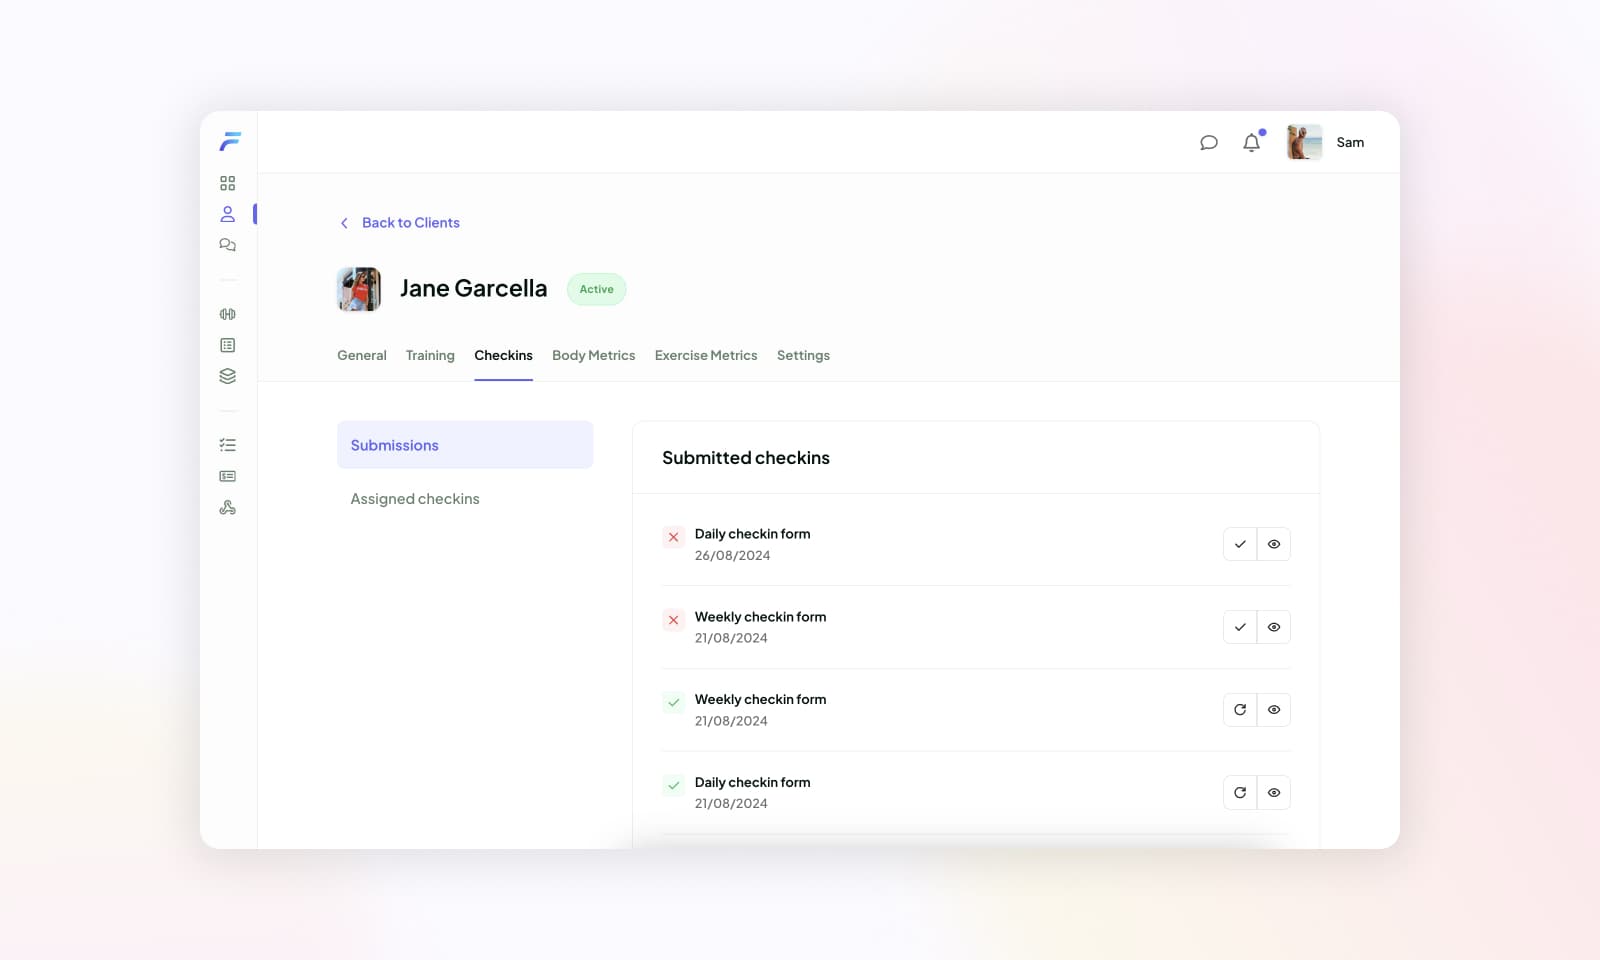
Within the Check-Ins section, you'll see two tabs on the left:
Submissions: This tab displays all the check-in forms your client has submitted. You can click on any submission to:
- View the Client's Responses: See the answers your client provided.
- Review and Comment: Mark as reviewed and leave feedback or comments directly on the submitted form.

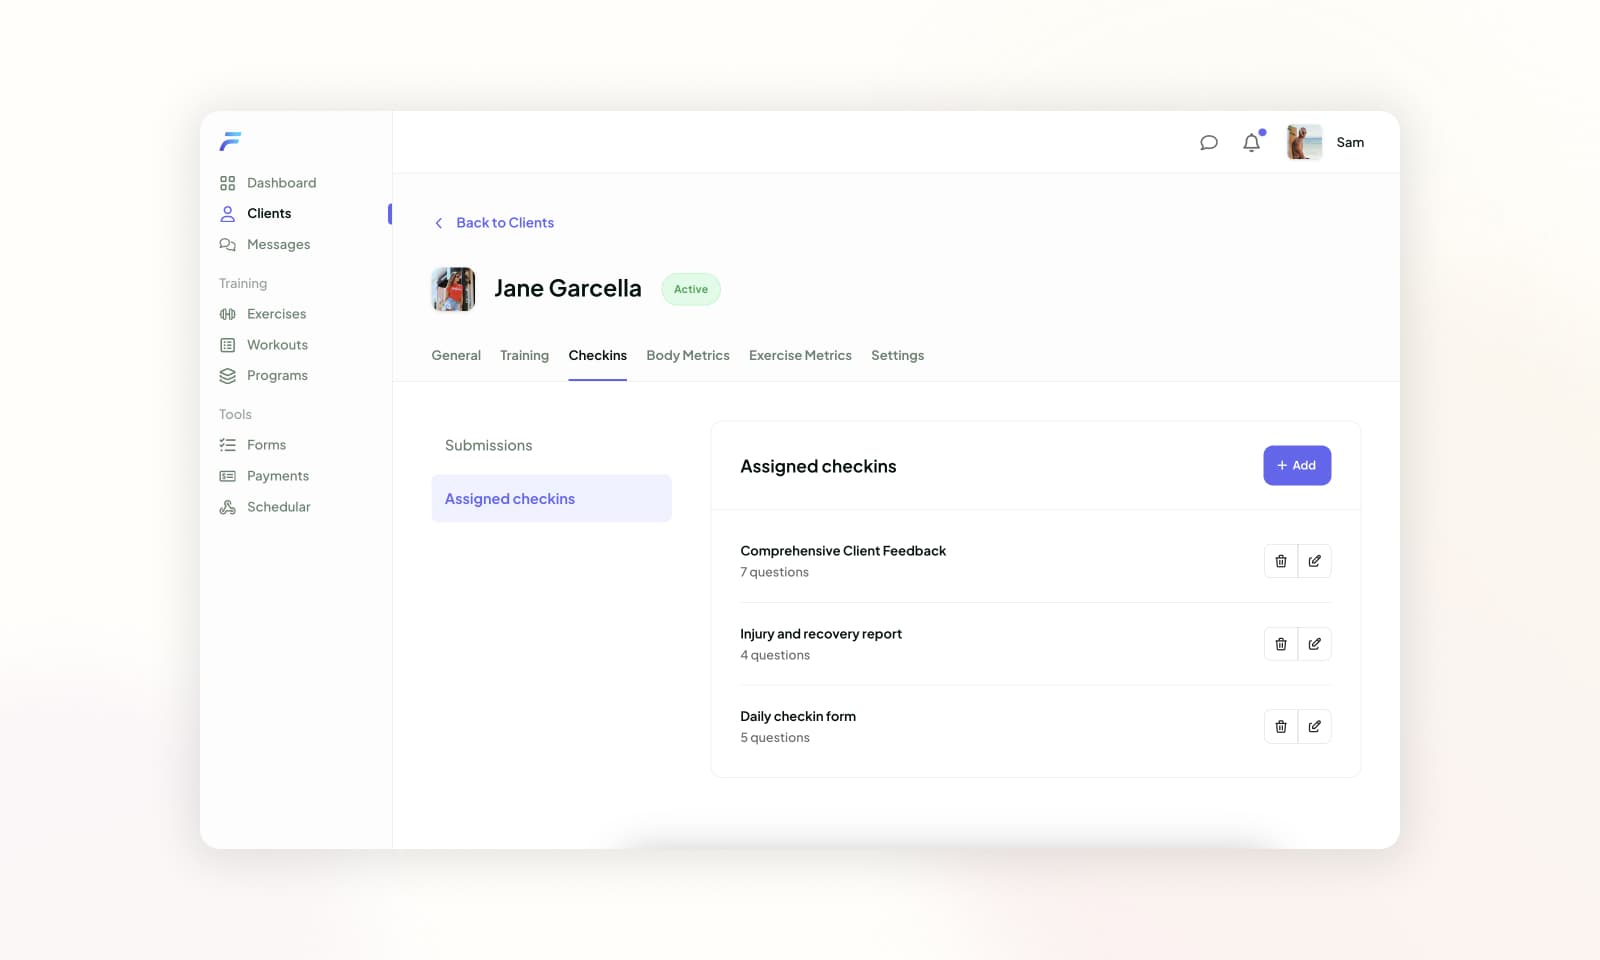
Assigned Check-Ins: This tab shows the check-in templates you have assigned to the client. These are copies of your master templates that you can now edit and tailor specifically for this client.

Assigning a Check-In Form Template
To assign a check-in form template to a client:
- Go to the Assigned Check-Ins Tab: In this tab, you'll see the list of check-in templates currently assigned to the client.
- Edit an Existing Check-In: Click on any template in the list to make adjustments to this form specifically for this client.
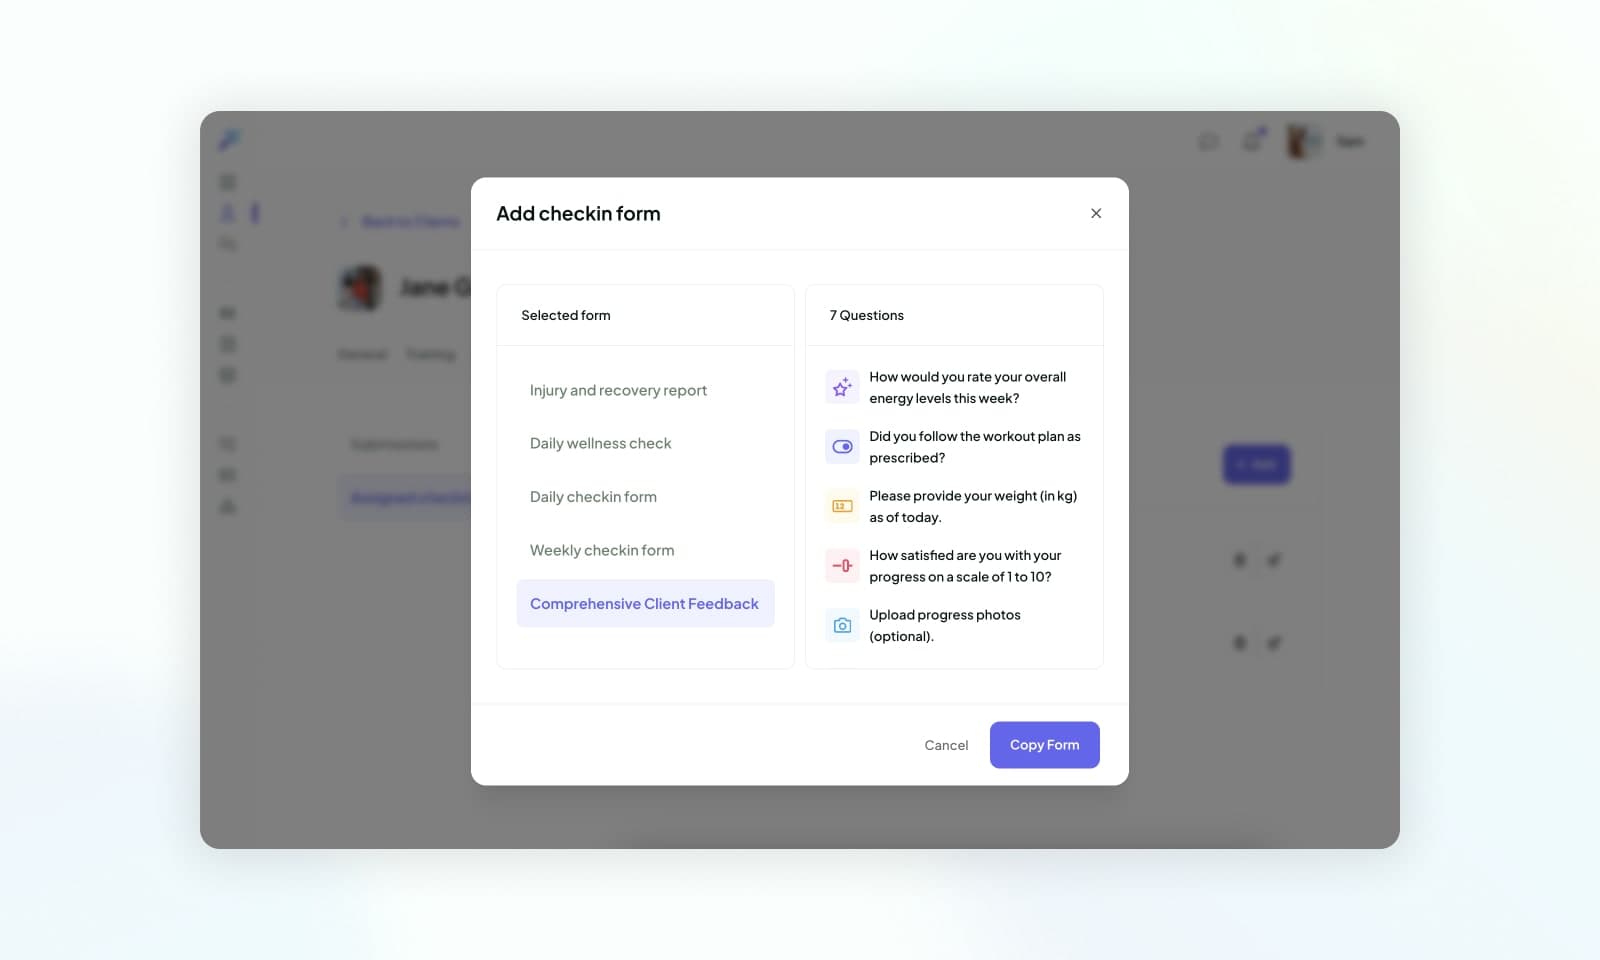
- Add a New Check-In Template:
- Click the + Add button.
- A list of your master check-in templates will appear.
- Choose the template you want to copy over and assign to the client.

Once assigned, the selected template will be added to the client's list of check-ins, ready for them to complete as per the schedule you've set.